Creating and Editing Forms
Connect Toolkit
This guide will show you how to add a Form in Connect. A Form is a data entry template that allows you to efficiently enter data from Surveys in to Connect. When you have surveyed local residents, you will want to store all the data. A form allows you to have all the questions available to hand on one screen in a layout that is visually. You can find the Forms section in the lower left hand menu of the Main Menu screen, in the ‘Reports • Forms • Labels section.
1. Begin on the My Voters or My Campaign database
2. Access the forms
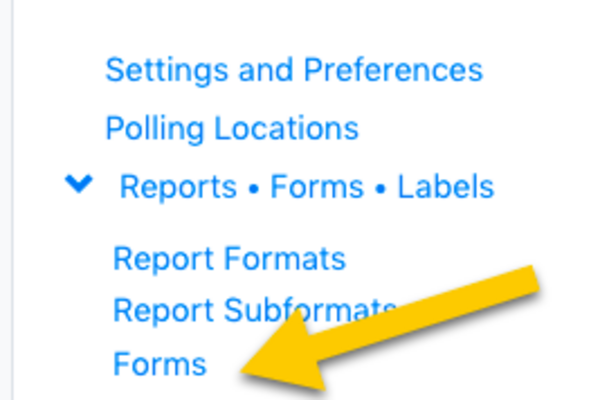
- From the lower left hand menu on the Main Menu screen under 'Administrative Menu'.
- In the ‘Reports • Forms • Labels’ section, click on ‘Forms.
3. Finding forms
- Here you can use filters to limit which Forms are displayed.
- Use the boxes to filter the scripts shown.
- The Form’s name displays here. Click the name to edit it.
- Click ‘Refresh’ to display the results.
4. Creating a Form
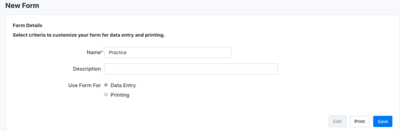
- On the Forms page, click the blue ‘Add New Form’ button to create a new Form.
- Give your Form a name
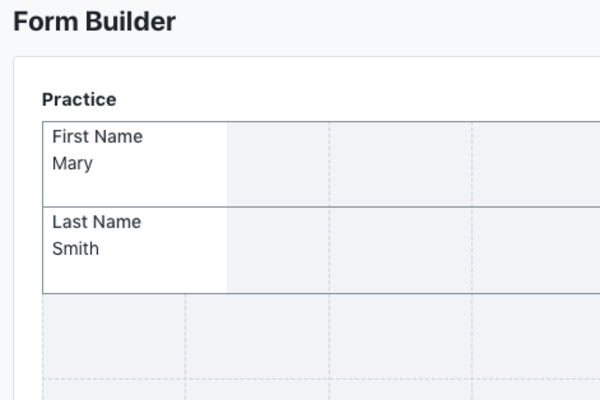
5. The Form Builder
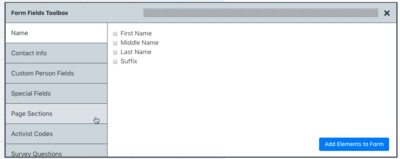
- When you have created your Form it will immediately open the Form Builder.
- If the screen does not display as shown here, your browser may be blocking it. In the browser’s address bar, look for an icon like a shield or x that may indicate it is blocking. Click on it and grant permission to connect.libdems.org.uk. Once you have the screen displayed correctly, you can begin to add fields.
- The questions, names and other editable fields will be found on the pop out form fields toolbox and added to the grid.
6. Adding a field to the Form
The fields in the first five sections, ‘Name’, ‘Contact Info’ ‘Custom Field’ ‘Page Sections’ and ‘Special Fields’ are listed ready for insertion.
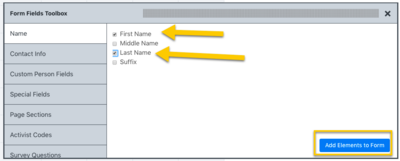
Some fields - like Name and Address - are fixed and cannot be edited. You may still wish to include these though to help users see clearly that they are entering data for the correct person. It will also make it easier to design the form to look similar to the paper version. For each of these fields, you can set formats by clicking their name. You can bold, italicise or underline. You can also choose to make the field read only or be required for entry. To add fields to the form, tick the boxes next to the names of the ones you want to add and click the ‘Add Elements to Form’ button.
7. Adding data points to the Form
- If the tool box disappears after adding your first data points, simply click on 'Show Toolbox' in the blue box
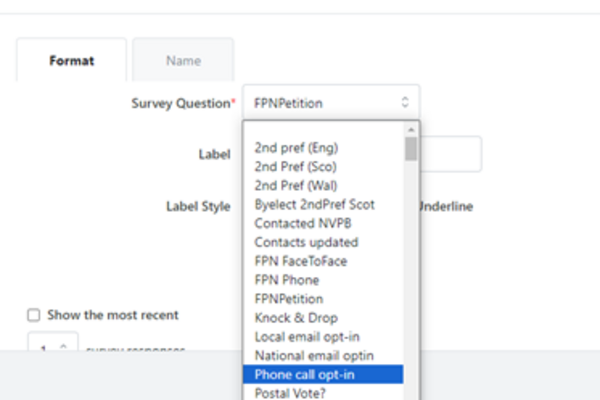
- You can add to your form any Question that you have access to. This includes national standard questions and ones created locally.
- In the Form Fields Toolbox, click ‘Survey Questions’ and then click ‘Add Survey Question’. Select the required Question in the ‘Survey Question’ dropdown.

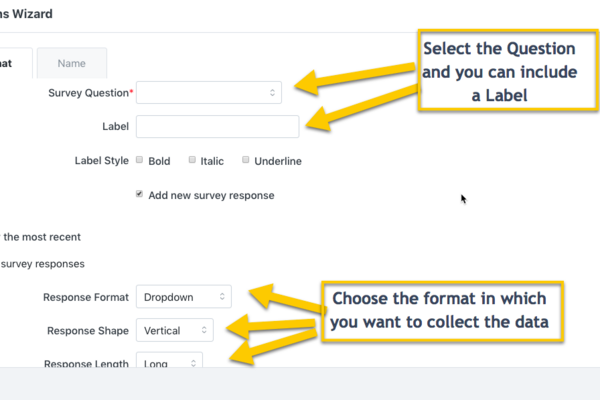
- You can then enter a label that will appear next to the question on the form. You can also choose whether to display previous answers to the question, or to allow users to enter a new answer.
- There are ‘Response Formats’ available - dropdown menus and radio buttons. Once you have chosen all your options, you then need to give the Form Question a name. Once you have set up the question, you can then set it’s form preferences by clicking on it’s name. To add it to the form, click it’s tick box and click ‘Add Element to Form’.
- Follow the same process to add a Tag, except click on Activist Code. Tags will be entered on your form using tick boxes. You can add a block of these tick boxes together. *** On the form builder, Tags are referred to as Activist Codes***
- IMPORTANT: if you are collecting emails or phone numbers, you must add the corresponding consent questions. They are found in the survey questions drop down list.
- We recommend placing this next to the editable information field so that data enters know to mark this question as yes after editing phone or email information.
- You must also have the Fair Processing Notice question included
- If this is not correctly recorded the data will not be usable
8. Laying out your form
- Once you have added your elements to the form, you can then change where they will appear on the screen.
- You can make more of the form grid available to view by either moving or closing the toolbox.
- If you close it, the ‘Show Toolbox’ button appears at the top of the Form Builder. Click this button to reopen it. You can then drag questions around the grid so they will appear in the same positions as they do on your paper surveys. The form elements will snap to the grid when you release them.
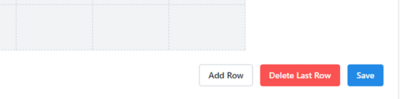
- If you require more rows by clicking Add Row’ and to remove rows click the red ‘Delete Last Row’ button. When you have everything in position, click ‘Save’ to save the form.
- If you close the tool box, the ‘Show Toolbox’ button appears at the top of the Form Builder. Click this button to reopen it.
- You can then drag questions around the grid so they will appear in the same positions as they do on your paper surveys. The form elements will snap to the grid when you release them.
- Important to note that the Blue information boxes added on to the grid must not overlap. Some boxes will spread over multiple grid squares so ensure that all boxes are spaced out properly.
Top tip! Remember to save your form regularly as there is NO auto save function on Create a Form. If you exit the page or the page is closed all changes will be lost.
9. Sharing Forms
You may wish to make your Form available to a neighbouring Party Organisation. To share the Form, in right hand box of the Party Organisation Access section of the edit page, simply click the name of the organisation you wish to share it with and click ‘Add’.