Managing your Contacts
Lighthouse Training - Module 6
Time estimate: 9 minutes
Topics: Lighthouse, Lib Dem systems and tools
Your contacts are everyone in your local area. This is not limited to members and supporters; your contacts also include donors and historical members. We have also given you access to contacts who have engaged with federal campaigns.
Viewing your Contacts
Step 1
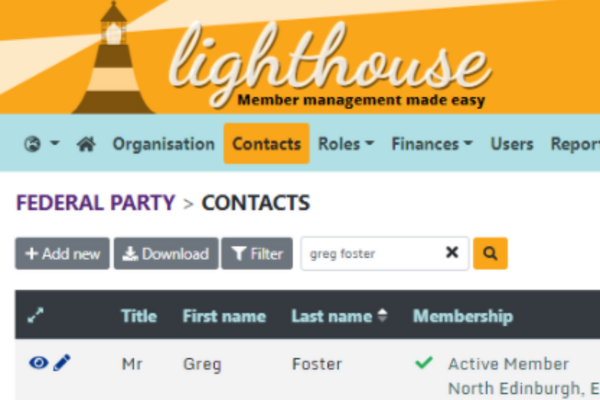
To view your contacts, you will need to click on “Contacts” in the blue menu at the top.
Step 2
You will be directed to the Contacts page. Scroll down the list using the scroll bars to view more contacts, or click on one of the page numbers on the top right of the page.
You can also scroll from side to side to view additional details for each contact.
You can also sort contacts by clicking on any of the column titles in the Contacts view. For example, clicking on “Last name” will sort contacts alphabetically by surname.
If you are searching for a specific contact, you can type their name, membership number, or any identifying detail, into the search bar.
Step 3
To view more details about one of your contacts, click on the eye icon on the side of the list.
Step 4
You will be directed to a page showing contact details and membership information for your chosen contact.
Editing your contacts
Once you have found the contact you want to edit, you can click on the pencil icon next to their name. Alternatively, you can click on the name of the contact you wish to edit and then click “Edit” at the top left of the details page for that contact.
This will take you to the “Edit contact” page.
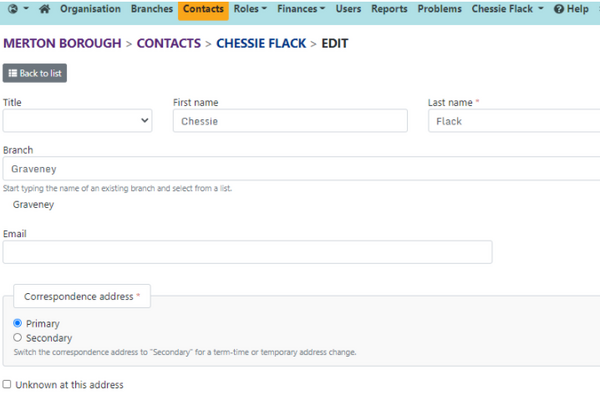
You can then update your contact’s details in the fields provided. Remember that when you begin to type an address, Lighthouse will offer a list of suggestions. Selecting one of these will automatically fill in the correct information for you.
When you have finished editing your contact, click “Update” at the bottom of the page. You will be directed back to the Contacts page, where you can view your updated contact in the list.
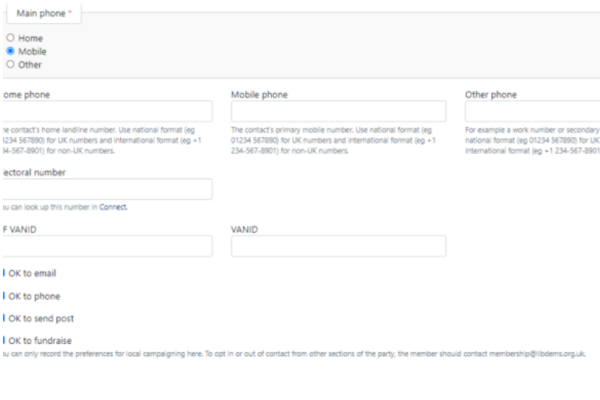
It's really important that when editing a contact, you try not to remove information from the system - especially addresses or email addresses. There are specific ways to mark that data as incorrect as deleting that information can cause problems in the system.
If you're updating an email address, but the person still uses the email address and it therefore might re-enter the system, make sure that email is retained in the email 2 (or email alt) field - so that the party can make sure we don't accidentally create duplicates. You can do that by submitting a problem request.
And remember, you can only edit local contact preferences. If you need to change preferences for another part of the party, you'll need to submit a problem report.
Adding new contacts
You might need to add a new contact. You are most likely to need to add a new contact if they are a donor, but not a member or supporter.
If someone wishes to join, as a member and wants to pay via post, you can’t create new members and supporters. However, if you create a contact with their details and send the payment to HQ it makes it much easier for us to add their payment and turn them into a member.
Step 1
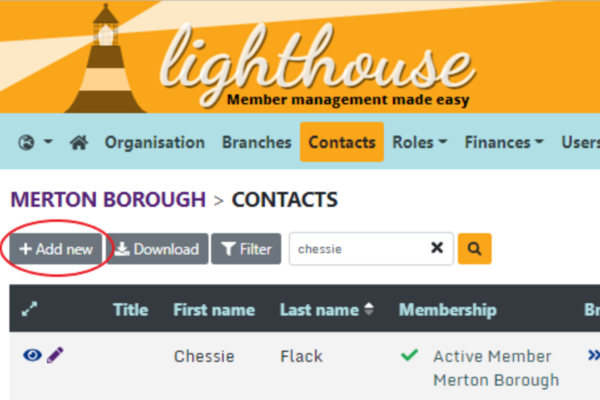
On the contacts page click ‘add new’
Step 2
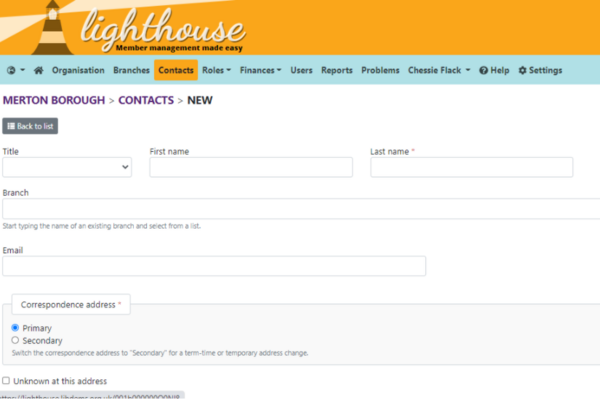
You will be directed to the “New Contact” page. On this page you can enter information about your new contact, including their name, contact details, and branch.
Note that a list of suggestions will appear when you begin to type an address. When you click on one of these suggestions, it will automatically fill in the correct fields for you.
Step 3
When you are finished, click “Save” at the bottom of the screen. You will be directed back to the Contacts page, where your new contact will appear in the list. Make sure you include accurate contact preferences when adding a new contact, so we know if they can be contacted.
Alternatively, click “Save and add another” to create another new contact.
Tasks
Tasks are quick and easy things you can do after each module to help practice what you've learned. Try them out and see if they help!
|
