Managing Users
Lighthouse Training - Module 12
Time estimate: 7 minutes
Topics: Lighthouse, Lib Dems systems and tools
One of the great things about Lighthouse is that there is no restriction on how many users you can have. You can create as many users as you need. Not everyone needs access to everything, so you can limit the access of each of your users.
You can restrict what users can see and what they can edit.
You can also restrict users to a branch if they are only involved in that branch. You can’t add users to multiple branches, so if a user needs access to the data of more than one branch, you will need to give them access to the full local party, but restrict what they can view or edit.
As a superuser, you may have times where people want access to the system. It's important that you take some time to learn what they need access to and how they're going to use it before granting access. You should try to ensure everyone has the level of access they need to do their jobs.
Adding a user
Step 1
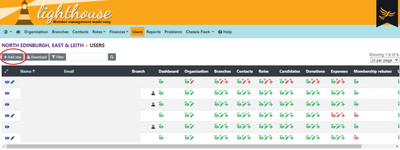
Click on “Users” in the blue menu to view a list of your current Lighthouse users.
Step 2
To add a new user, click “Add new” at the top left of the page.
Step 3
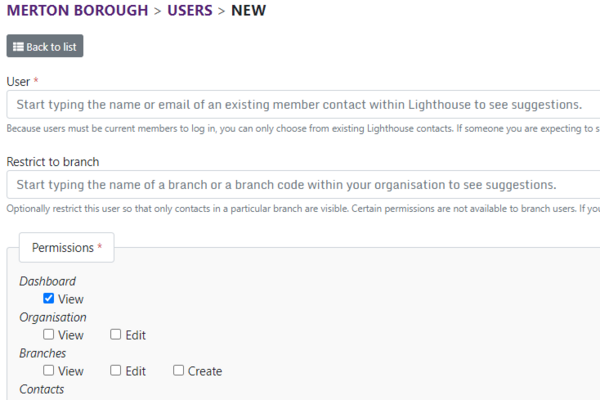
You will be directed to the New User page. Start by typing the name of the contact you want to add as a user into the first search box, and a list of options from your existing contacts will appear.
Click on the correct contact, and their name, membership number and address will appear below the search box.
You can also follow this step to restrict the new user to viewing one branch. Type the name of the branch into the second search box, and click on the correct one.
You can then set the permissions for the new user using the checkboxes further down the page.
When you are finished, click “Save” at the bottom of the page.
Step 4
You will be returned to the Users page, where you can view your updated list. Your contact will soon receive an email welcoming them to Lighthouse and instructing them on how to log in.
Editing a user
Step 1
Click on “Users” in the blue menu to view a list of your current Lighthouse users.
Step 2
To edit an existing Lighthouse user, click the pencil icon next to their name in the list. Note that you can also click on the eye icon next to the pencil to view the contact. Then click “Edit” at the top left of the page.
Step 3
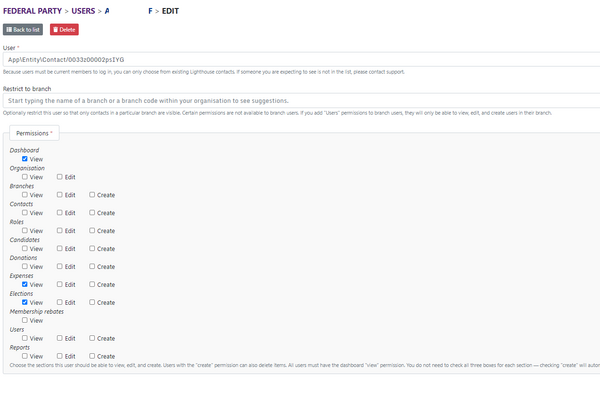
You will be directed to the Edit page, where you can restrict this user to a branch and amend their user positions.
Once you are happy with your changes, click “Update” at the bottom of the page. You will be directed back to the Users list.
Removing a user
Step 1
Click on “Users” in the blue menu to view a list of your current Lighthouse users.
Step 2
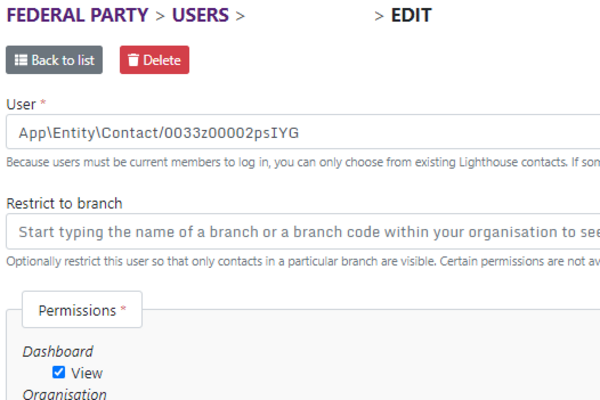
To remove an existing Lighthouse user, click the pencil icon next to their name in the list. Note that you can also click on the eye icon next to the pencil to view the contact. Then click “Edit” at the top left of the page.
Step 3
Click the red button that says ‘delete’ to remove the user.
Tasks
Tasks are quick and easy things you can do after each module to help practice what you've learned. Try them out and see if they help!
|