Label Formats
Connect Toolkit
This guide will show you how to add a Label Format in Connect. There are standard Label Formats available to you, but you may wish to print a Label with different data fields. To do this, you will need to create your own Label Format. You can find the Label Formats section in the lower left hand menu of the Main Menu screen, in the ‘Reports • Forms • Labels’ section.
Label Format
1. Begin on the side of the database in which you want to create labels.
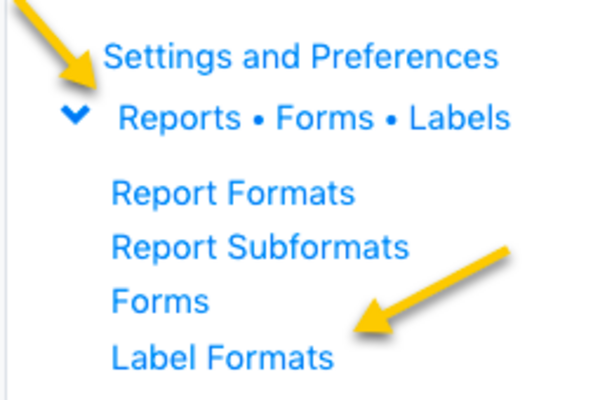
2. Access the Label Format from the lower left hand menu on the main menu screen
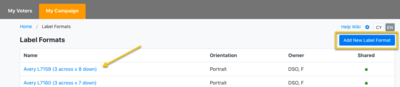
Under Administrative Menu, in the ‘Reports • Forms • Labels’ section, click on ‘Label Formats’. Your existing Label Formats are listed here.
3. Editing a Format
- The Label Format’s name displays here. This column beside it shows which User created the Label Format.
- Click the name to edit it. If someone else create the format, you won’t be able to edit it, but you will be able to save a copy and edit that.
4. Create a New Label Format
- Click the ‘Add New Label Format’ button to create a new Label Format.
- Give your new Label format a name. You can also give it a description if you wish.
- Select the Label Type preset for the label sheets that you are using. The options available are based on Avery standards. Most labels you buy will fit one of these standards. You can also choose your text size. If you choose a larger size, longer fields may not fit on your labels.
5. Building your labels
-
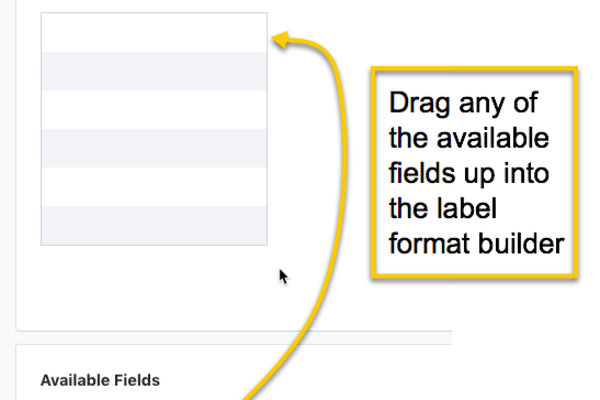
This is the area where you build your Label Format. The top section will be blank, ready for you to drag in fields. Drag in the fields you require up into the Label Field.
-
The amount of space available is dependent on the Label Type you choose when creating the Label Format. If you have a large text size, many of the longer fields will not fit in to smaller labels. When you try to place them, they will simply bounce back to the ‘Available Fields’ area.
These are some of the fields available to you. Simply drag the required field in to place above. Displayed is example data. To see the field name, hover over it.

6. Adding Tags, Questions or Text
The Label Format Builder has a set of default available fields. You can then add to these using the buttons at the bottom of the ‘Available Fields’ section. When you have added a field, it will then be listed in the ‘Available Fields’ section, ready for you to drag in to position. You can add Tags, Questions (including Master Questions), Target Pools. Simply click the relevant ‘Add’ button and select the required field from the drop down menu. For Questions and Target Pools you will also need to choose the display size from ‘Short’, ‘Medium’ or ‘Long’.
Adding a tag will only display an X if the tag applies. You will need to place text adjacent to the field to make it clear to your volunteers what it means.
You can choose whether you wish to display the short, medium or long name.
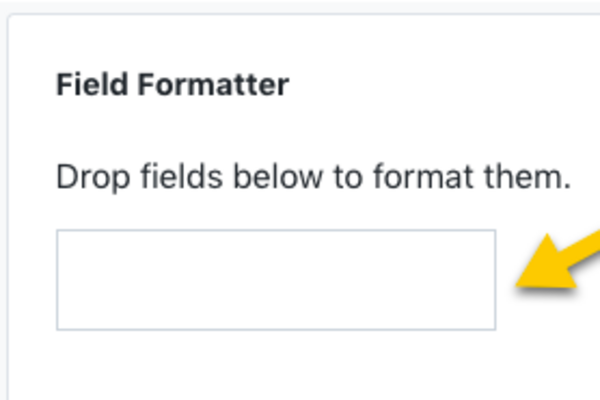
7. Formatting Fields
At the bottom of the ‘Report Format Builder’ screen is a ‘Field Formatter’ section. To format a field, simply drag it into this area and check the required box. You can select either bold or italic. The field will then keep the specified formatting when you drag it to the report area at the top of the page.
8. Editing Label Formats
Once you have saved your Label Format, you can edit the name and the label layouts. You cannot change the label type or the text size.
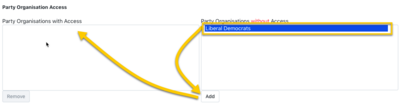
9. Sharing forms
Once you have saved your letter, you will be able to share it. You may wish to make your Template Letter available to a neighbouring Party Organisation. To share the Form, in right hand box of the Party Organisation Access section of the edit page, simply click the name of the organisation you wish to share it with and click ‘Add’. The organisation will then become an organisation with Access.