Form View
Connect Toolkit
Form View is a great tool when applying multiple pieces of data to individual profiles or when the information you are entering is contact information.
1. Begin on either the My Campaign or My Voters side of the database
Choose depending on whether the data is about members and supporters (My Campaign) or voters (My Voters)

2. Select form view
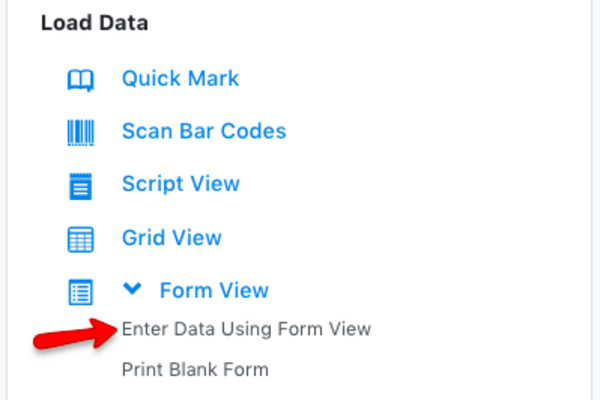
Click on Form View and select Enter Data using Form View

3. Set up form view
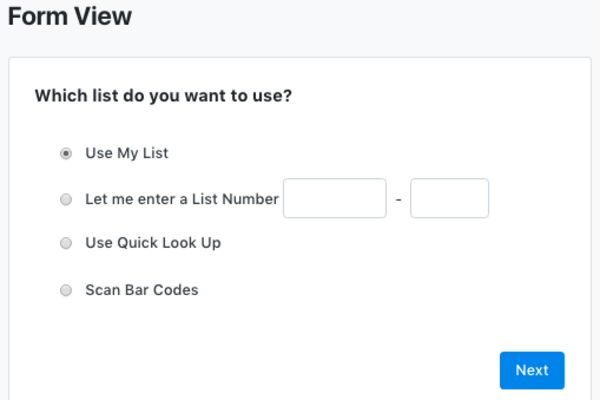
Select which list you would like to use
- Use My List – Use your current list
- Let me enter a List Number – If you have been using printed canvass cards the list number will be at the bottom of the printed page
- Use Quick Look Up – Allows you to look up individual people to enter data using a data entry form
Select the appropriate data fields to determine how your data will be presented on screen:
- Form: The form you want to use to enter data - this will need to have been created in advance by a member of your campaign team - it should have all the questions and contact information that are needed to record the information from your paper surveys, petitions or reply slips
- Canvasser: Enter the name of the person entering the data, or the person who spoke to the voter if you have it
- Date Canvassed: Day data entry is being done, or the date the voter was spoken to if available
- Canvass Type: i.e. Doorstep or phone
- Sort Order: If you are working from a list, then selecting a sort order can make your data entry much easier.
4. Start entering your data
A form will appear in which you can start entering the data you have collected using either drop down menus, radio buttons or by entering email addresses or phone numbers into the boxes provided.
- Remember that for every email address or phone number you enter, you also need to apply a question response that confirms they have given us their consent to use the contact details again in the future
- If you had selected the Quick Look Up option, you will be brought to the Quick Look Up page first where you can search for individuals one at a time. Click on their name to enter Form View for their profile

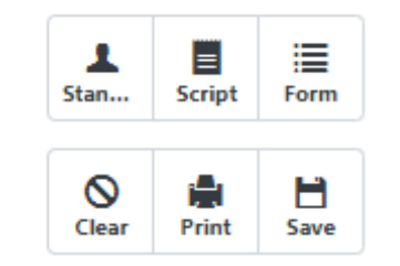
Update the contact information for the individual using the form and then select the Save option at the top right of the screen.

